How to Open Photoshop Original from Lightroom after Additional Editing

If you send a photo from Lightroom to Photoshop, then save it back in Lightroom, then edit the photo more in Lightroom, then want to go back to Photoshop… it flattens everything! Or, does it?
The situation
Let's say you're in Lightroom (CC) and decide to send a photo to Photoshop. Maybe you add some layers, some text, some compositing… whatever. You're done, so you go back to Lightroom and continue to do some more work. Coloring, cropping, retouching, whatever.
But then 😱 you spot a mistake. Or just change your mind. Whatever, that's totally your prerogative, right?? You now want to go back to Photoshop to change something, so you select the image, right click, and Open in Photoshop. But… it's flat! All your work is gone, and all of your new Lightroom work is baked in. This is not what you wanted!!
Versions to the rescue
Versions are your friend here. Basically, create a new version, then click on “original”, and open that in Photoshop. All your layers will be intact! When you come back to Lightroom though, be aware that you will be seeing a new file with no versions — but your versioned edition will be sitting next to it, so you can just copy and paste the adjustments over.
Step by step
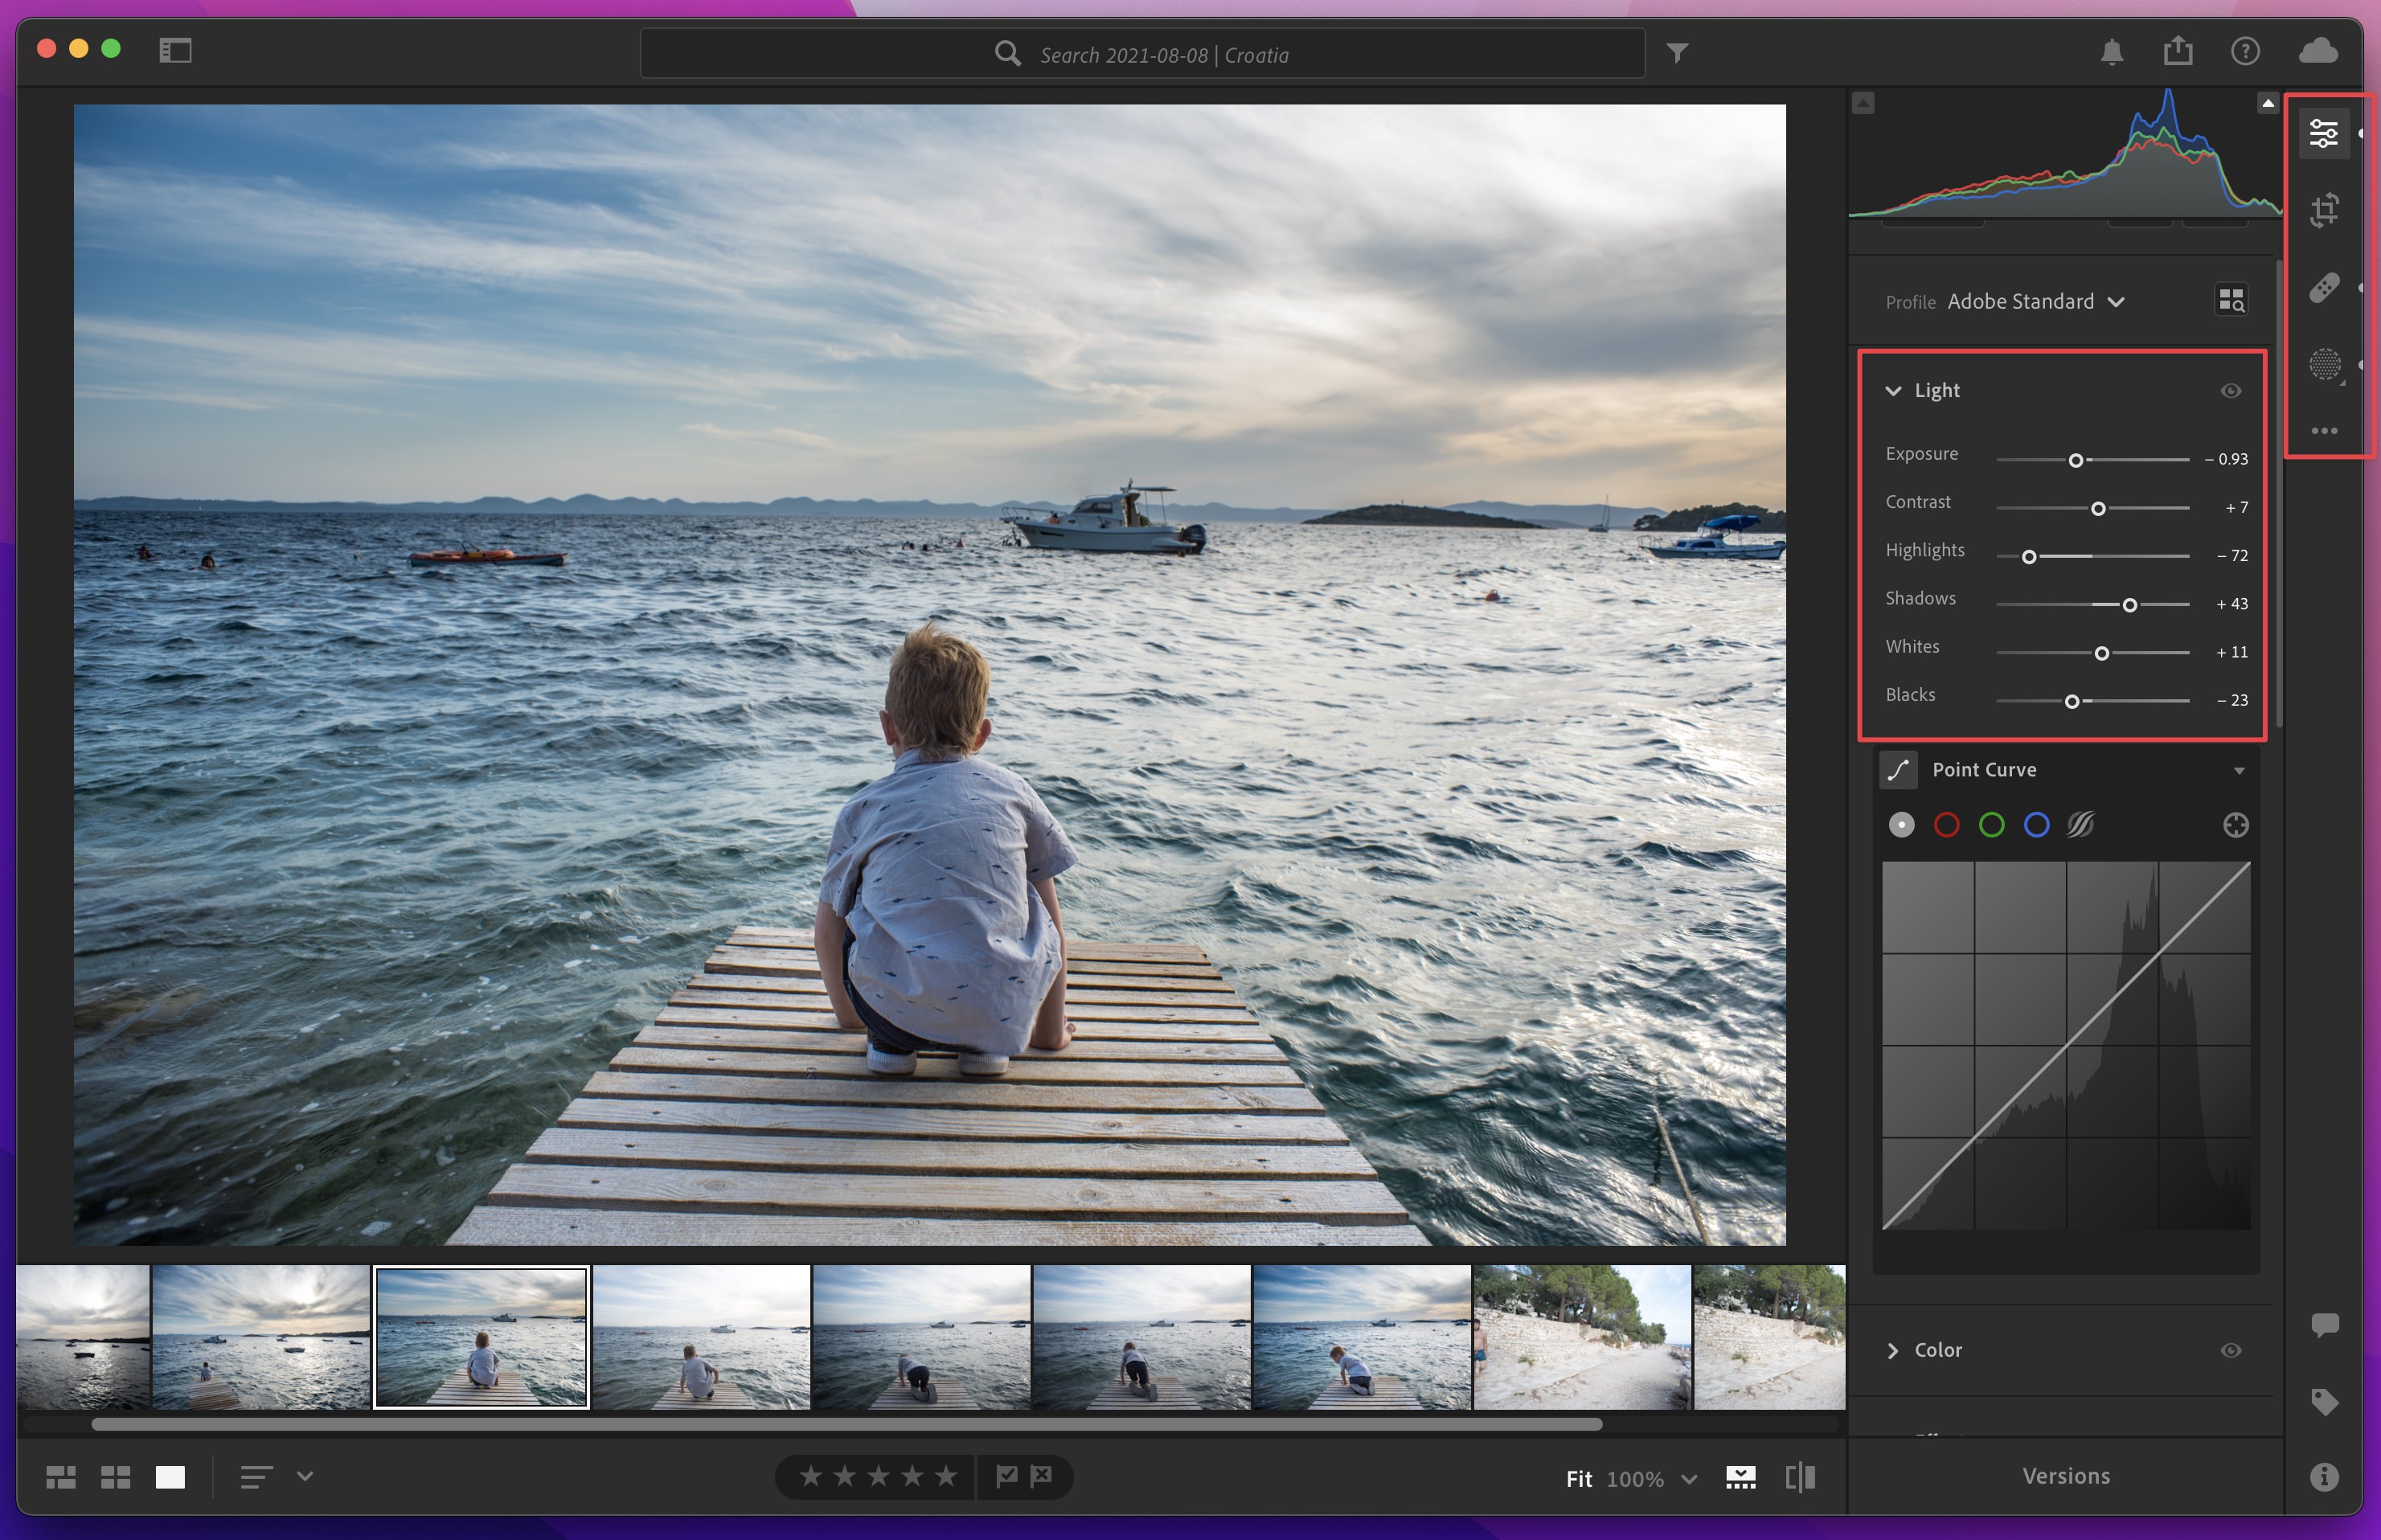
Here's a photo in Lightroom, which you can see has been edited…
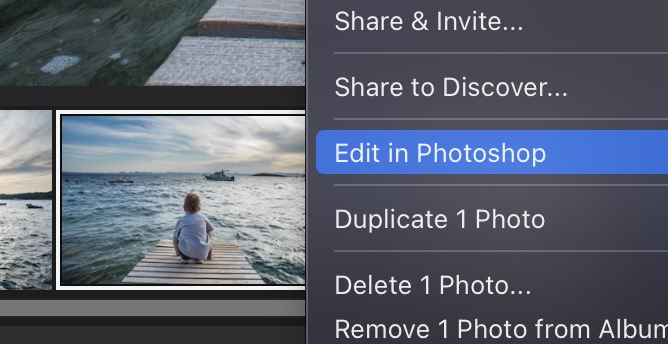
Let's take this into Photoshop to add some text. Right click, and choose Edit in Photoshop:
Once in Photoshop, add some text or do whatever you like to the image.

Once done, simply hit Save and close the window, then switch back to Lightroom. You'll see your new Photoshop version there, next to the original (it can take several seconds to show up, so be patient). It'll actually be a stacked, so they are nicely grouped together.
Now, make a change in Lightroom. Here, I've set a Monochrome profile to make it black and white, and also did a Point Curve adjustment. You can clearly see the changes made here:

OK, now the “mistake”. If you simply right click on that image and Open in Photoshop, here's what you'll get:

Oops!! It's B&W, and the layers are gone! That's gonna make it awfully hard to change the text. (At this point if you close the image without saving it, Lightroom will automatically discard the Photoshop file that it just created). Head back to Lightroom and let's do this right.
Here are the steps to follow…

- Click the Versions button to open the Versions drawer.
- Click the (+) to create a new version. You'll be prompted to name it, and then…
- you'll see that new version, in my case, called “my B&W”.
- Now that the new version is saved, click on the Original version to restore it back where you brought it in from Photoshop!
From there, Open in Photoshop again. And this time, all your layers will be intact! Here, I've edited the text a bit further. You can see the original layers are still intact, and of course the image is still in color.

Once you're done making changes in Photoshop, save and return to Lightroom again.
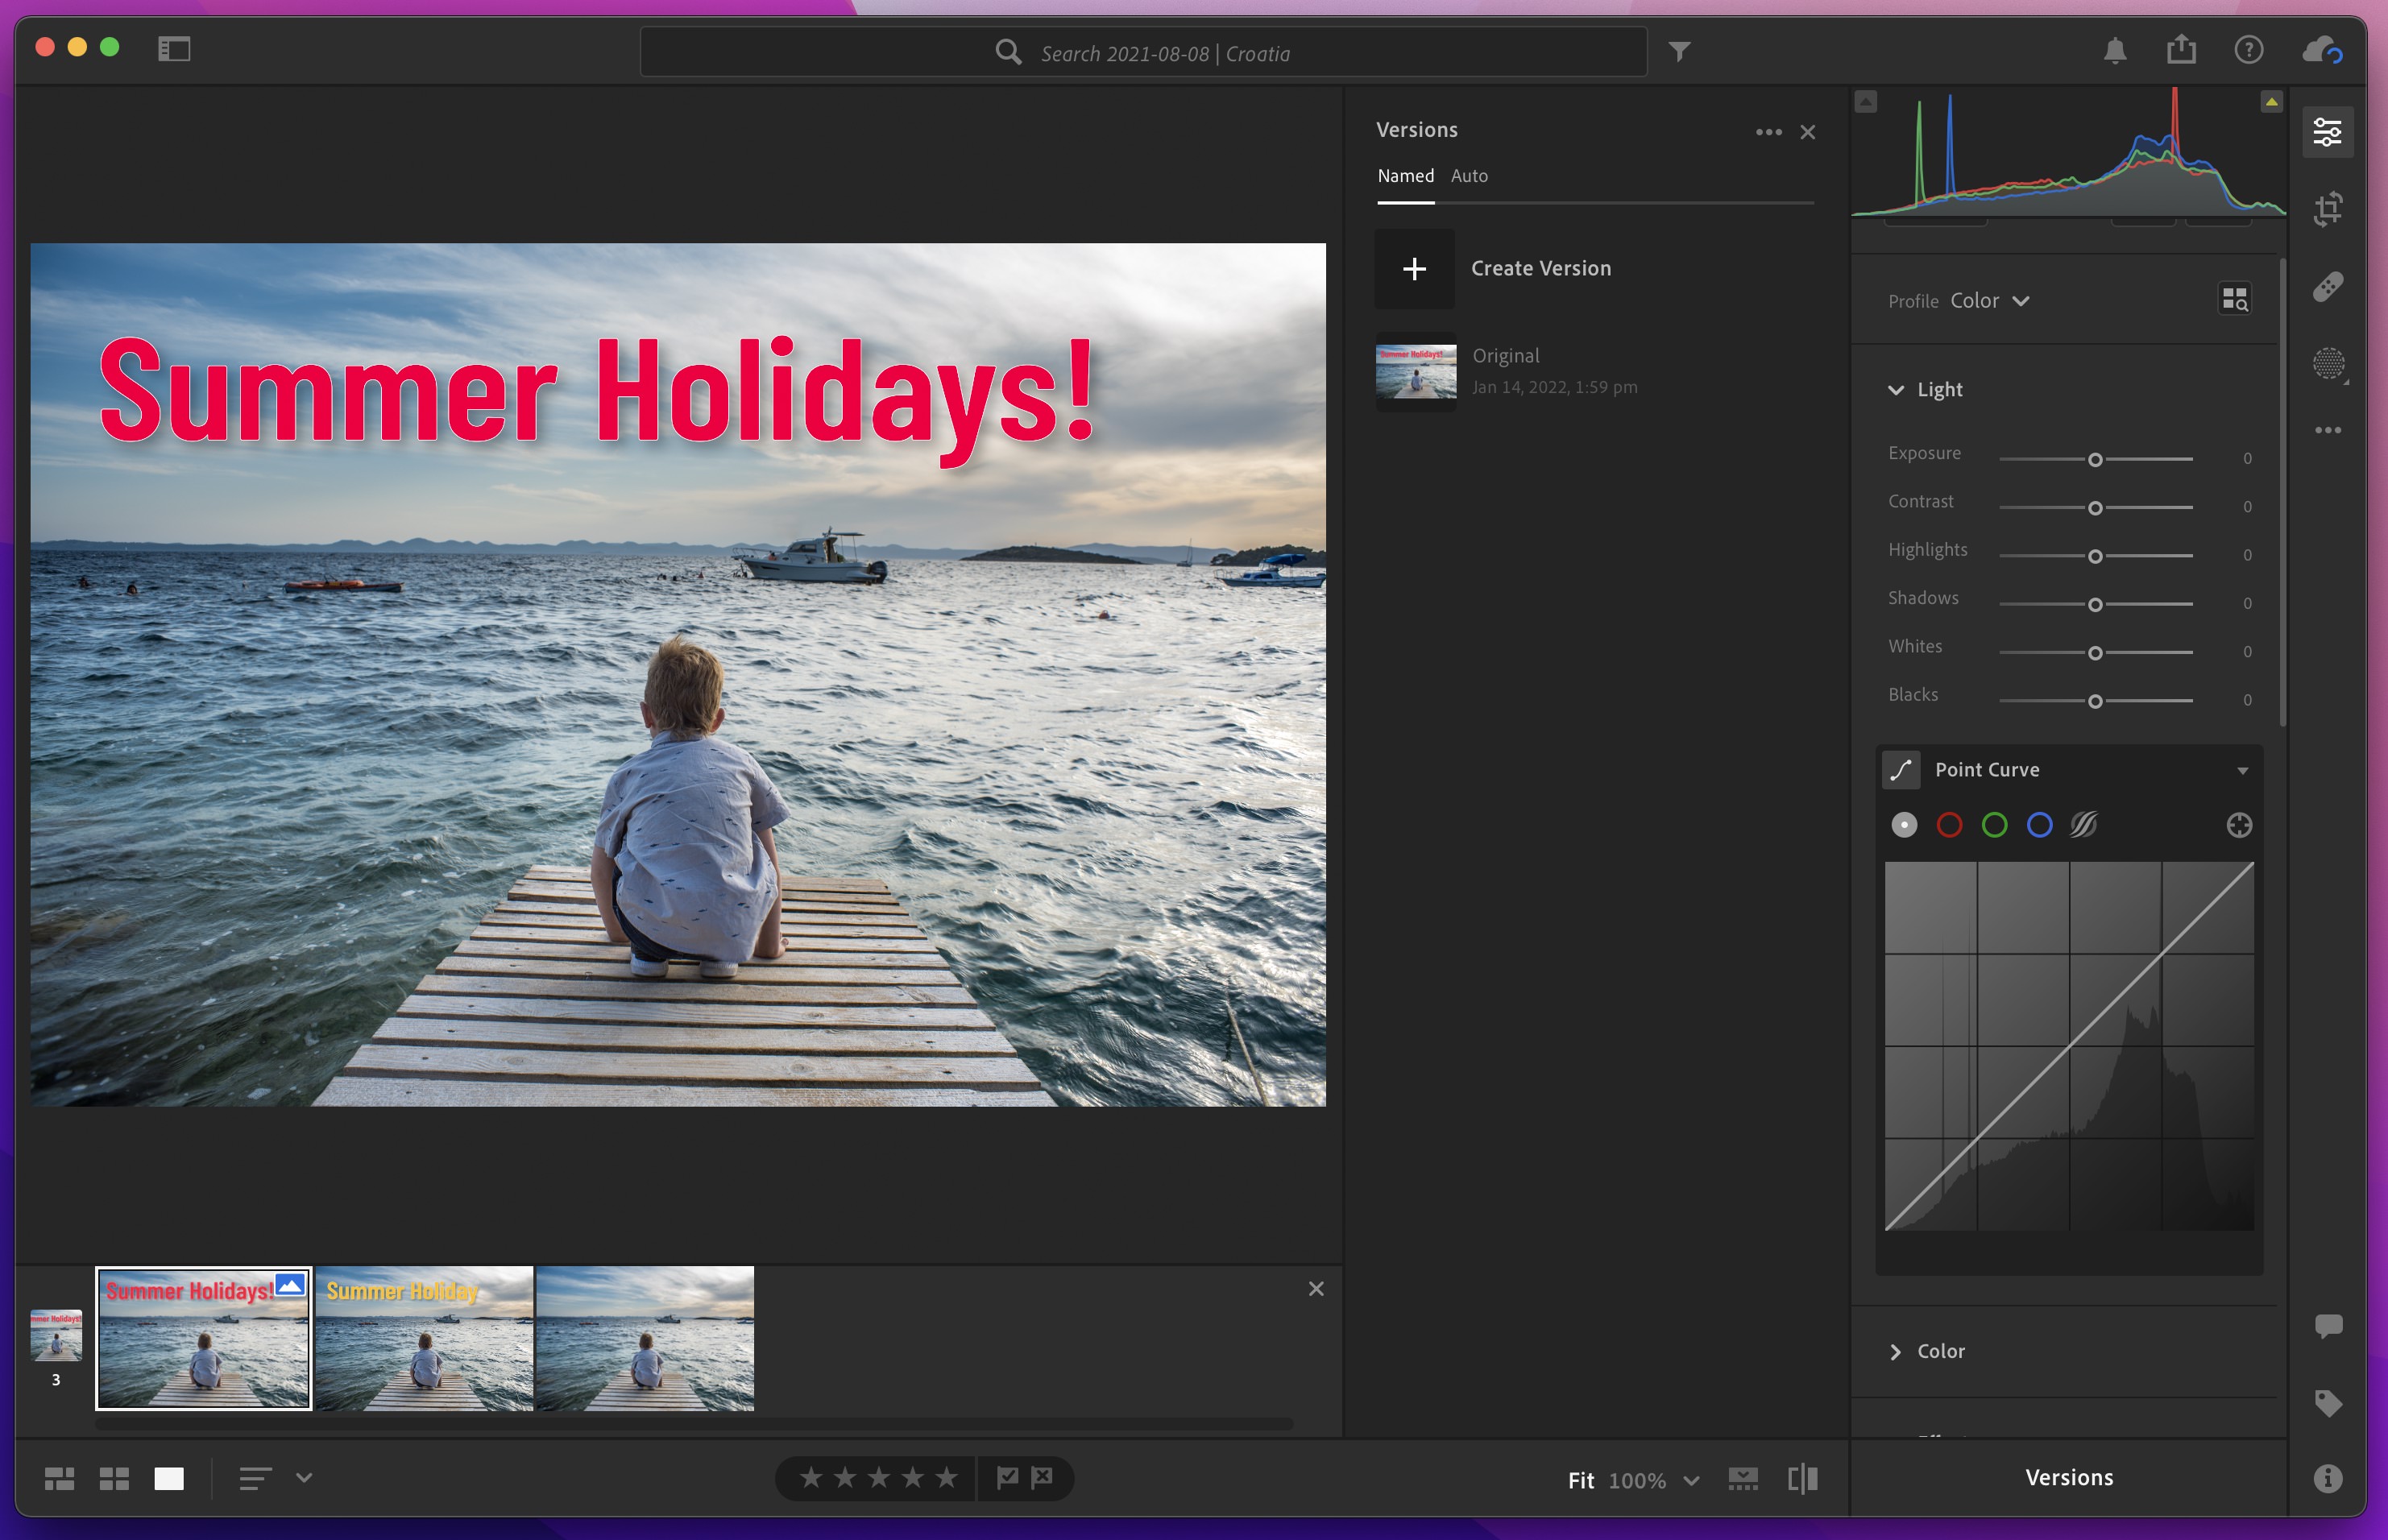
Once in Lightroom however, you won't automatically see the version (“my B&W”) that you saved. But if you look closely, you'll see that you in fact are looking at a whole new copy of the photo (red text thumbnail in the screenshot below), and that the one you were previously editing is right next to it (yellow text thumbnail below).
Select that previous copy (yellow one), and there's your saved version! Now to recall all the work you saved…

- Select the previous copy.
- Select the custom version you'd made (in my case, “my B&W”).
- Click the three dots on the right to open a series of extra commands, including…
- Choose Copy Edit Settings or Choose Edit Settings to Copy…. I recommend the latter, as the former doesn't include adjustments like geometry or cropping. If you select the Choose option, then you can control exactly what is being copied from this image.
The last step is to paste your adjustments on the newly edited photo. Just select it, and hit Command-V or Control-V (or, select the three-dots menu again, and choose Paste Edit Settings as you see below).

Now you know how to get back to Photoshop, even if you've applied adjustments in Lightroom after editing in Photoshop!
Lightroom has lots of tricks up its sleeve…
Do you have any Lightroom tips like this? Leave them in the comments below!